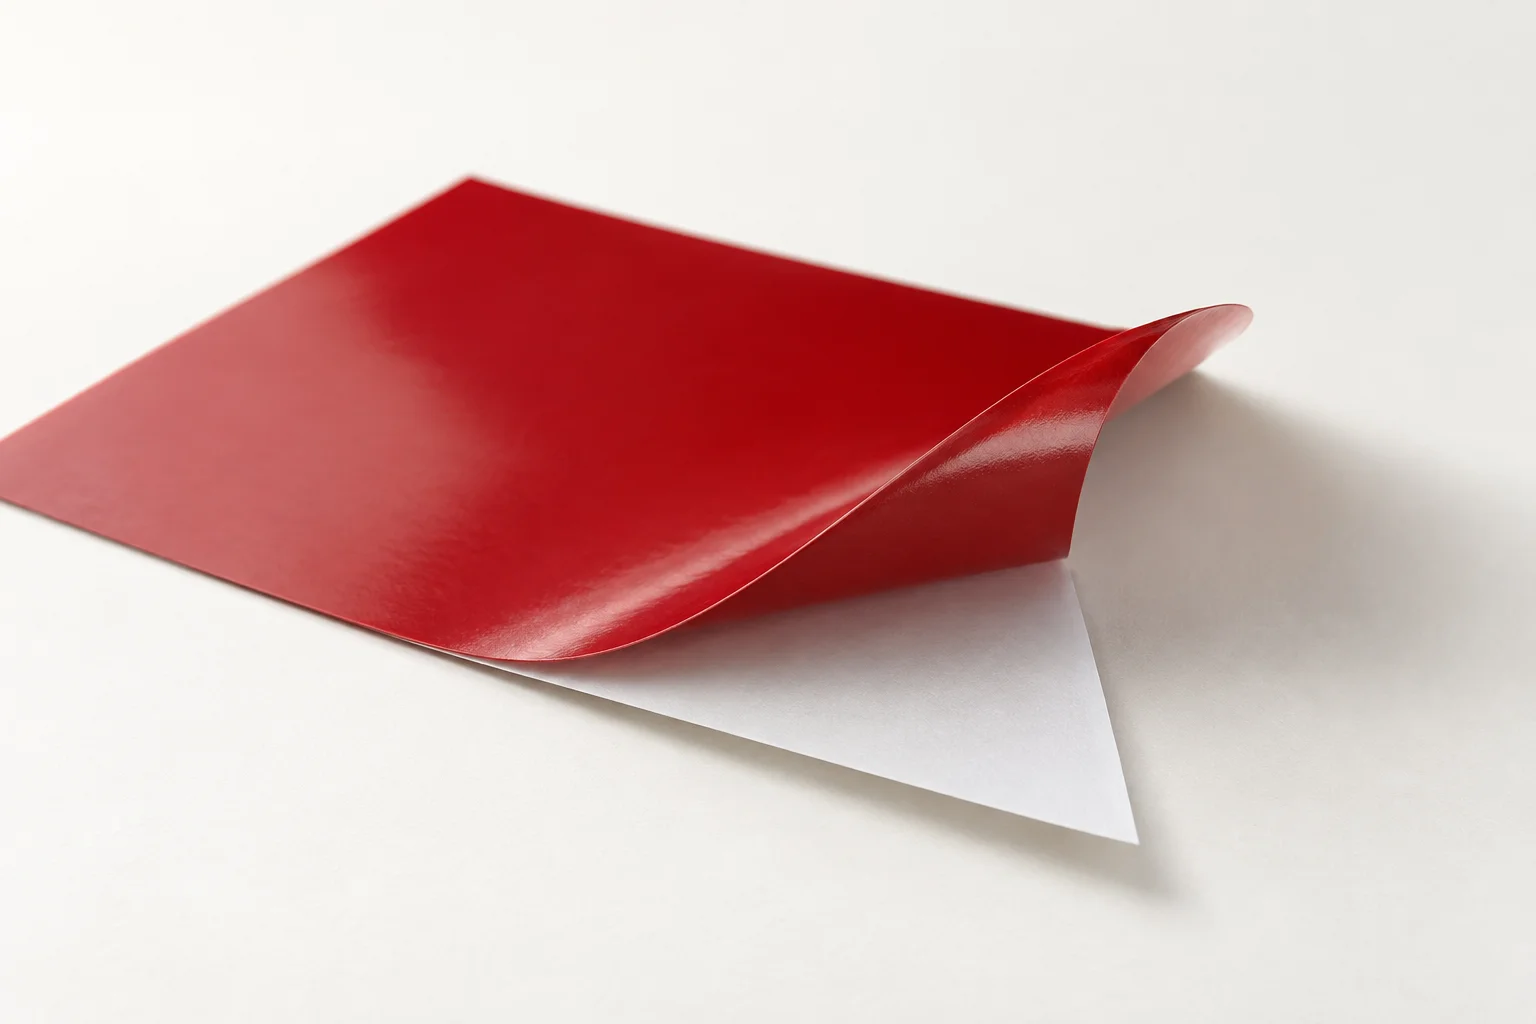
A few layers. One clean result.
The paper backing protects the adhesive. Transfer tape keeps the cut letters aligned. Peel both away during installation; the lettering stays.
The LetterSupply field guide
Good materials. A little know-how. Everything you need for lettering that looks right, from the first peel to the final press.
See the installation guide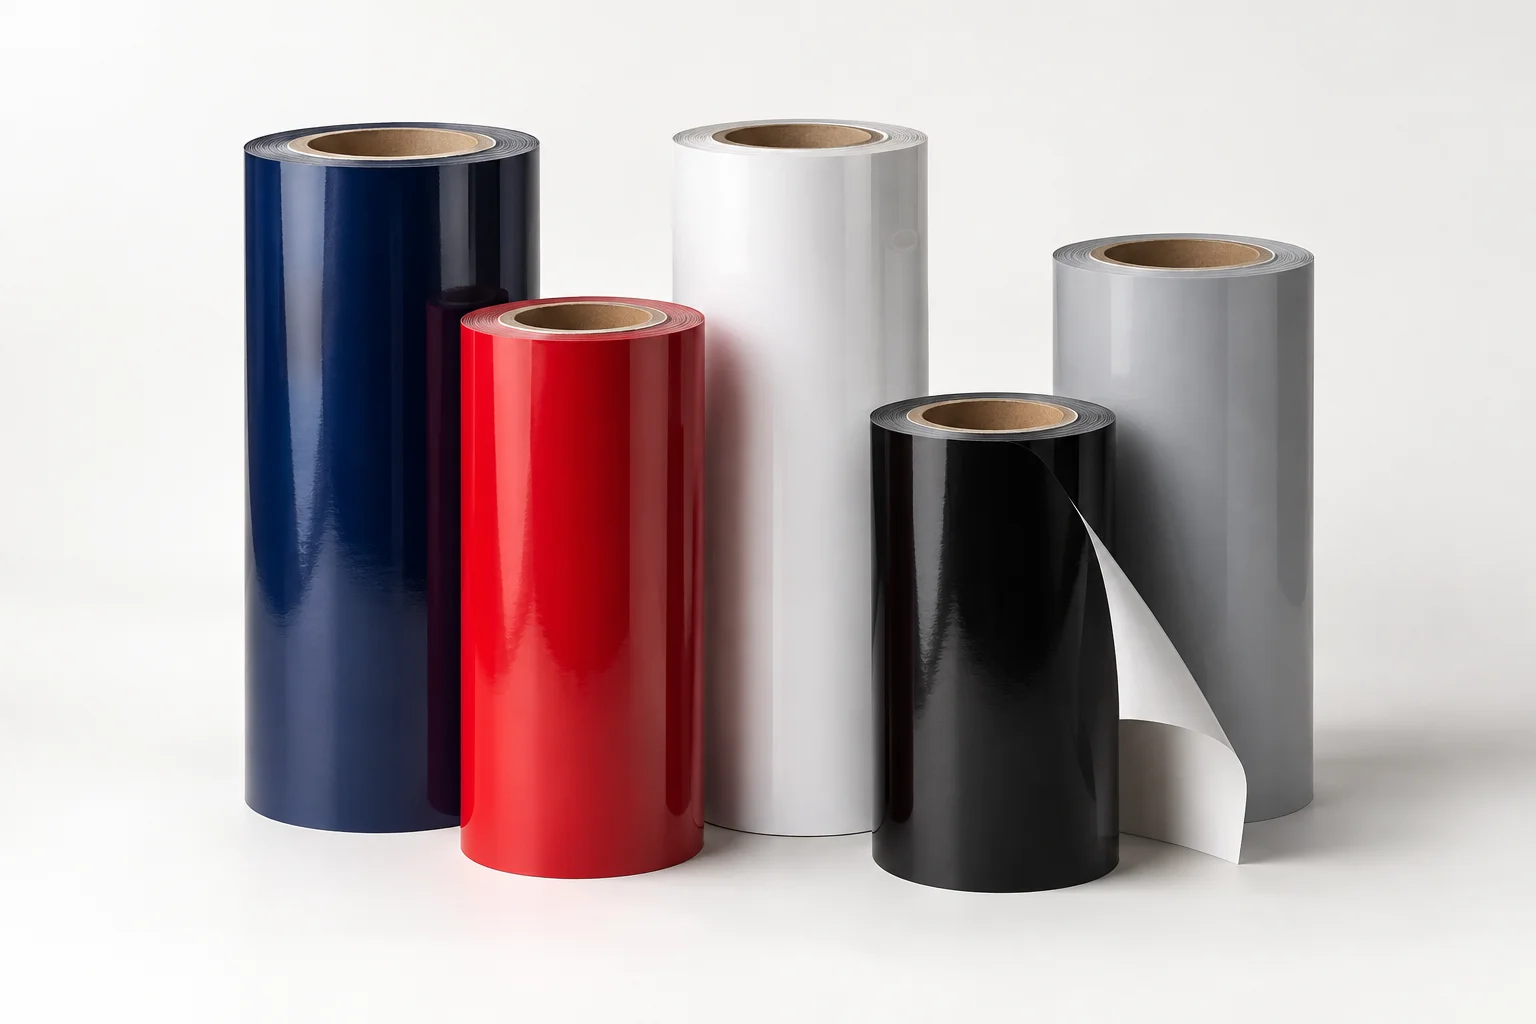
Clean edges. Solid color. The thin, calendered PVC film behind our lettering, made for signs and graphics on flat surfaces.
Permanent adhesive can affect paint or leave residue during removal. Always test an inconspicuous area.
ORAFOL specificationsThe paper backing protects the adhesive. Transfer tape keeps the cut letters aligned. Peel both away during installation; the lettering stays.
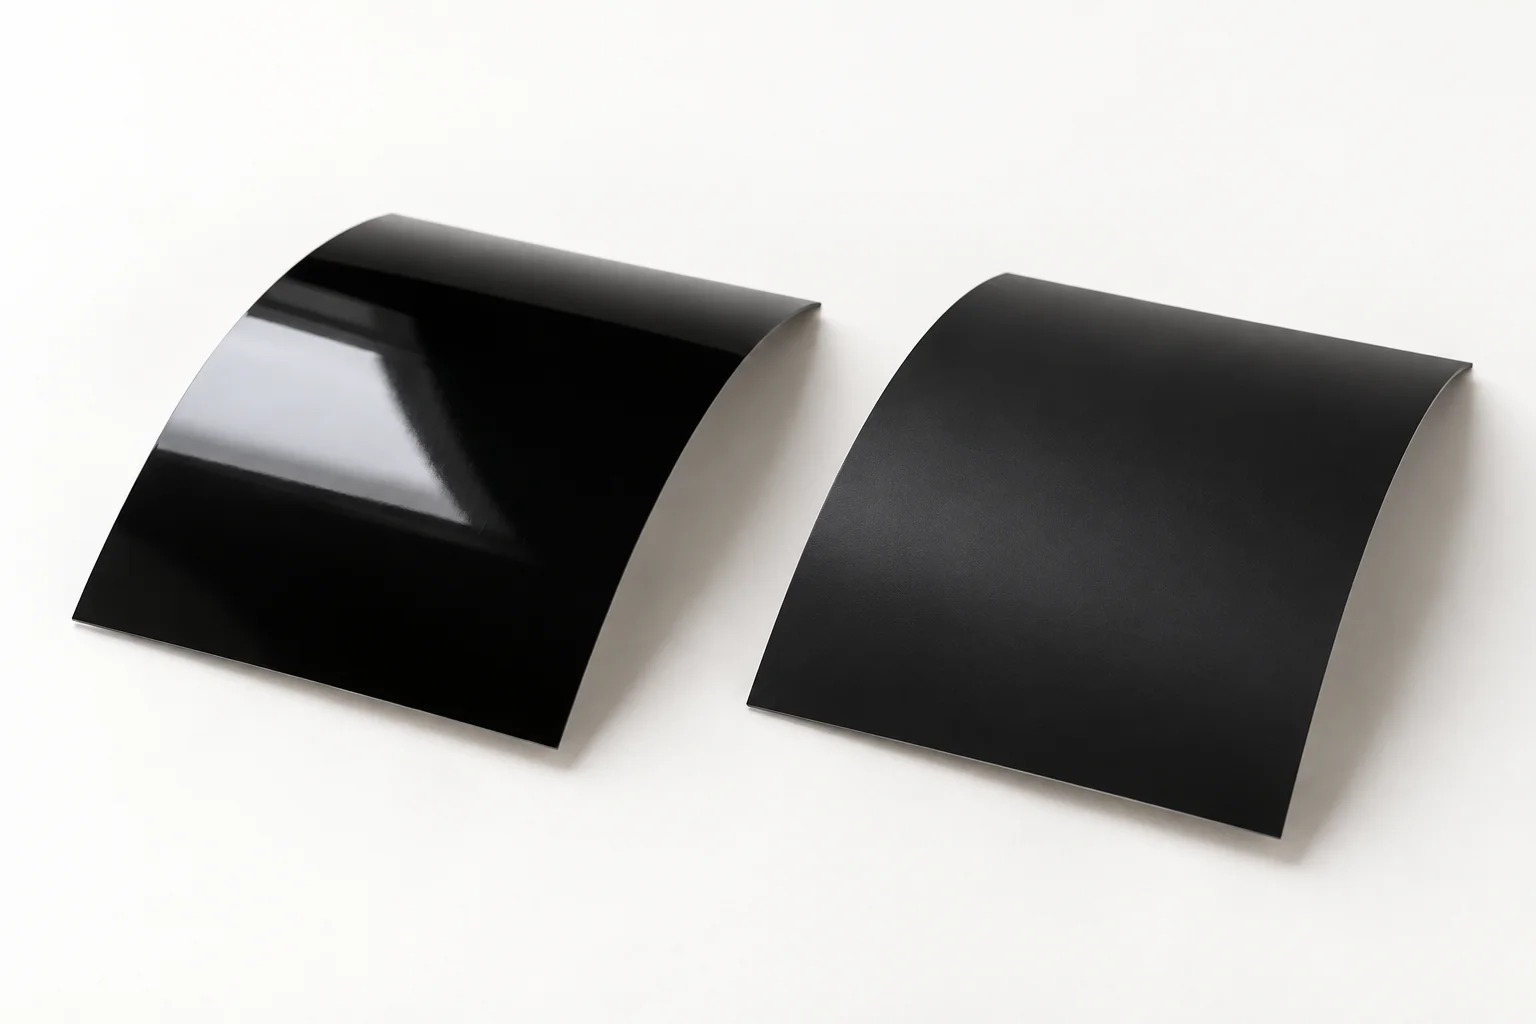
Gloss catches the light. Matte keeps it soft. Shown under the same light so you can see the difference.
Illustrated colors and finishes are examples, not a stock list or physical swatch. Check your item’s options for availability.
Use this nine-step dry hinge method for pre-spaced lettering on a suitable, flat surface.
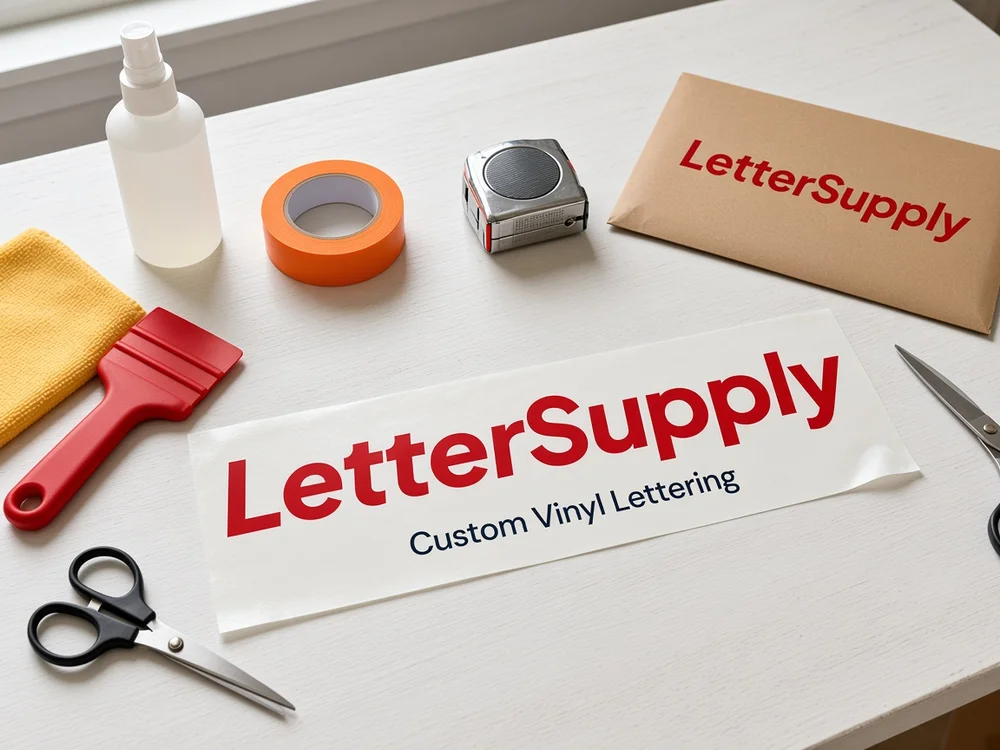
A squeegee or firm card, painter’s tape, a tape measure, scissors and a clean, lint-free cloth. Your lettering stays on its backing until you are ready to apply it.
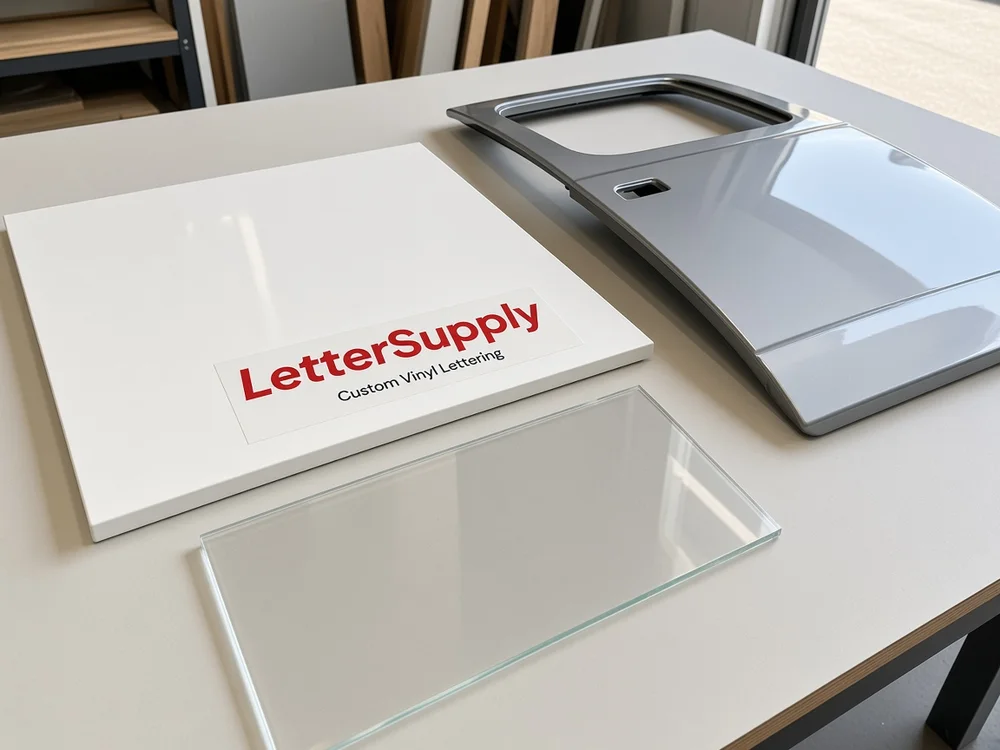
Apply above 46°F (8°C), the ORACAL 651 minimum. Paint must be fully cured, not just touch-dry. Follow the paint maker’s curing guidance and test adhesion first.
For cleaning, ORAFOL generally recommends isopropyl alcohol unless the surface manufacturer identifies an incompatibility. Avoid cleaners that leave residue. Read the preparation guidance ↗
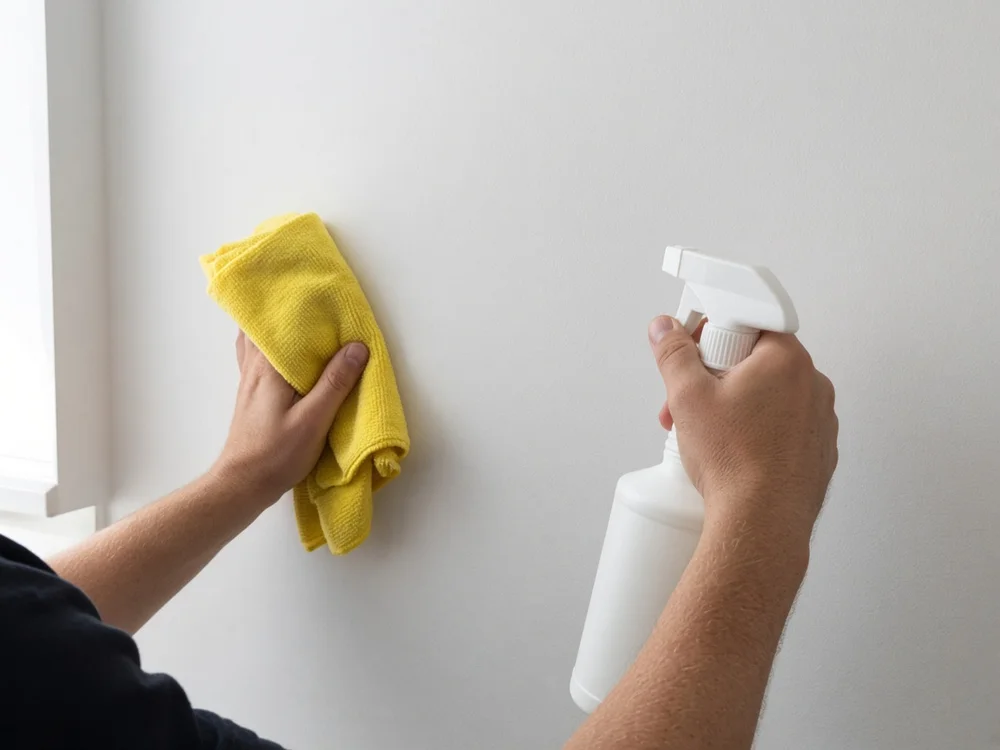
Remove dirt, grease and wax with a cleaner compatible with your surface. Wipe dry with a lint-free cloth and let any solvent evaporate completely.
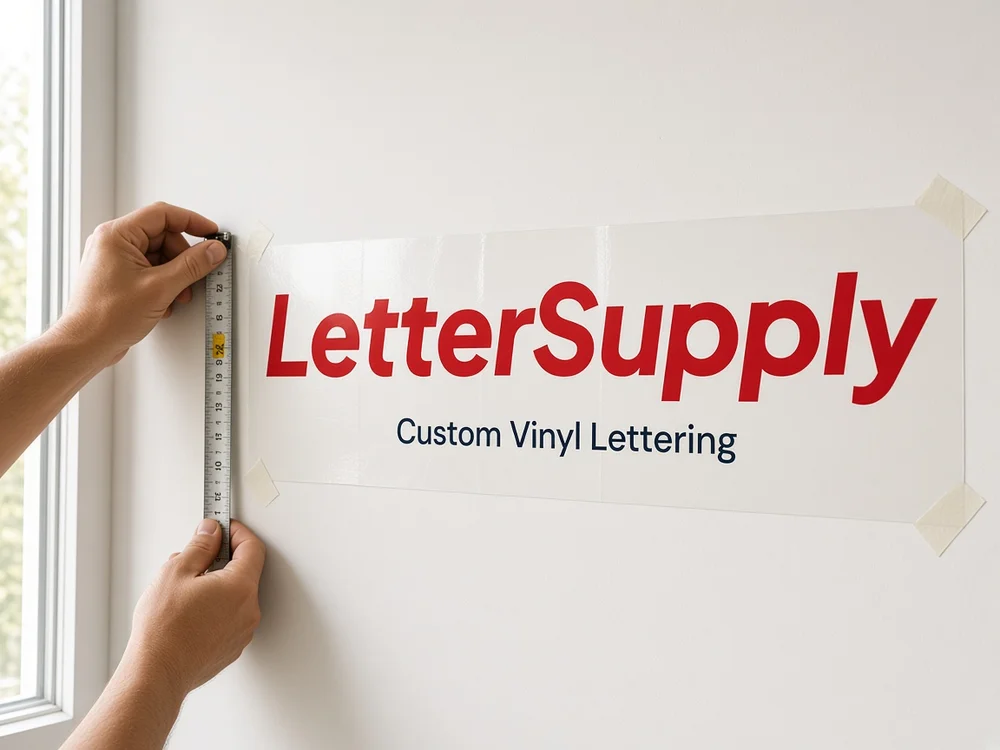
Leave the backing on. Position the lettering, measure from a level reference, and lightly tape the edges in place. Check it from a few steps back.
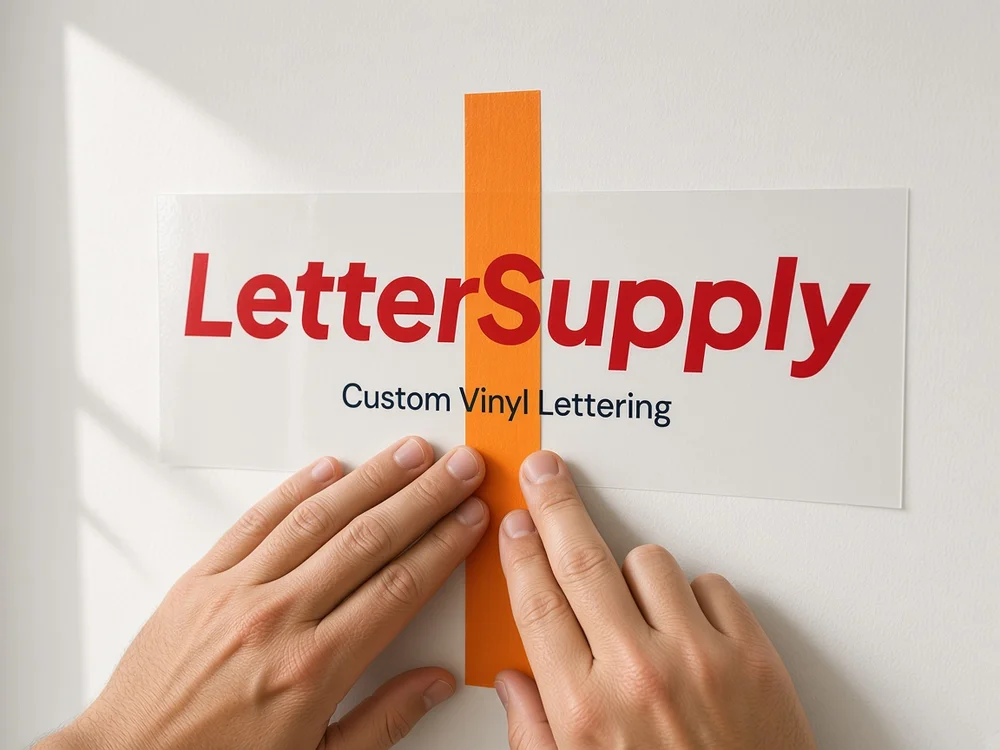
Run a strip of painter’s tape vertically through the center. This hinge keeps your spacing and position in place as you work on each half.
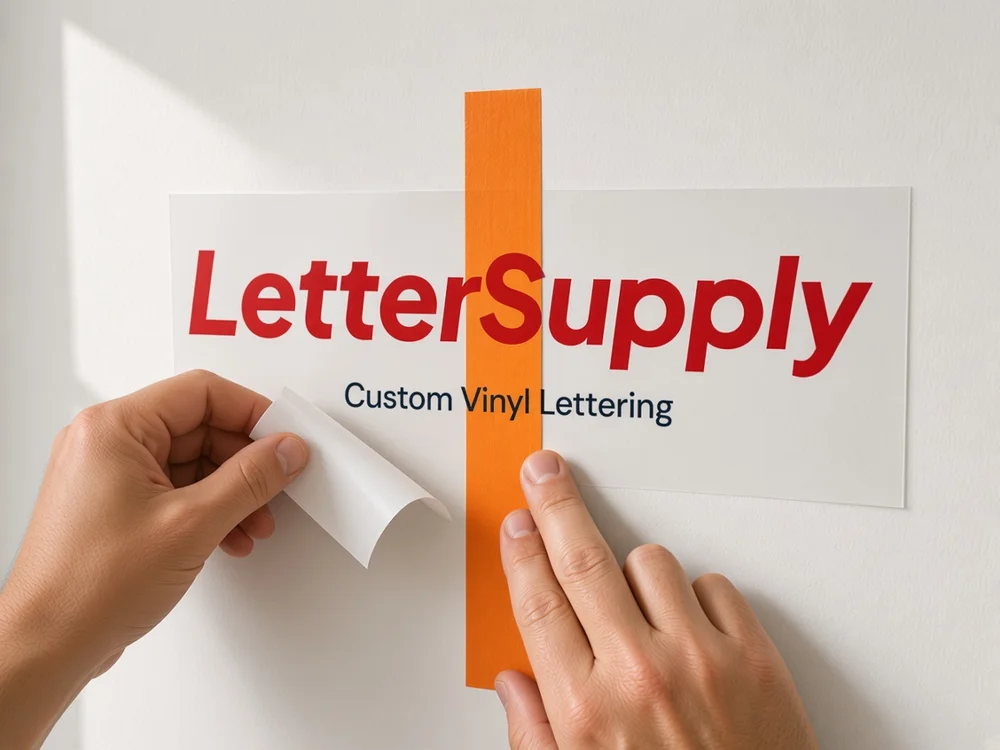
Fold one half back toward the hinge. Slowly peel the paper backing away, keeping every letter on the transfer tape. Keep the exposed adhesive off the surface.
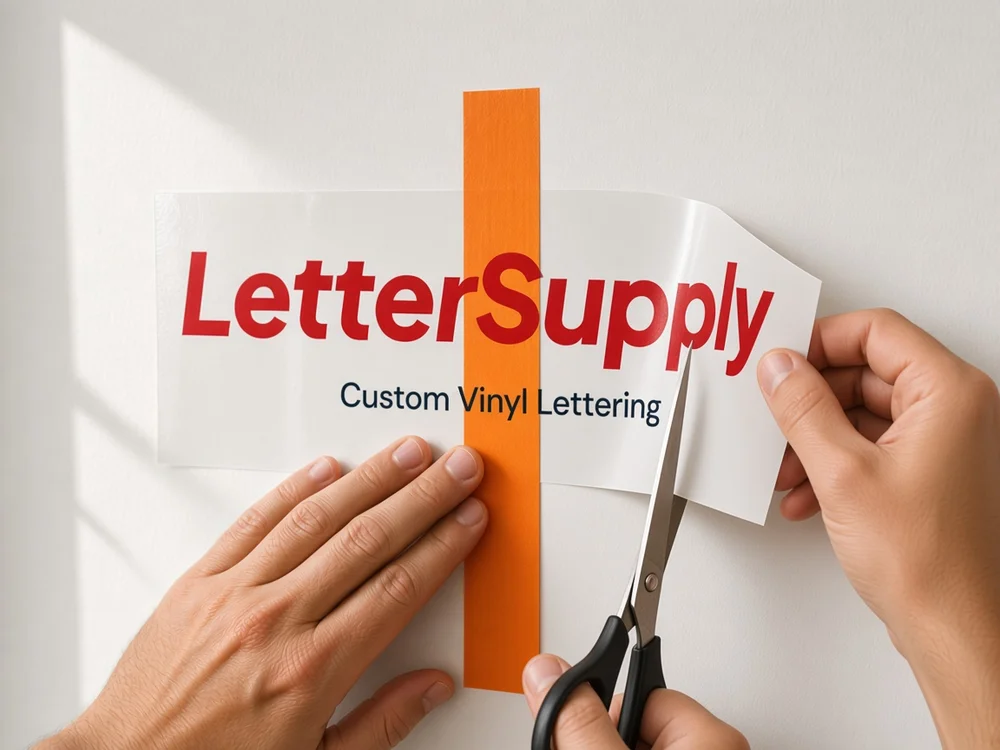
Cut away only the loose paper backing. Hold it clear of the surface and lettering while you cut. Keep the center hinge in place.
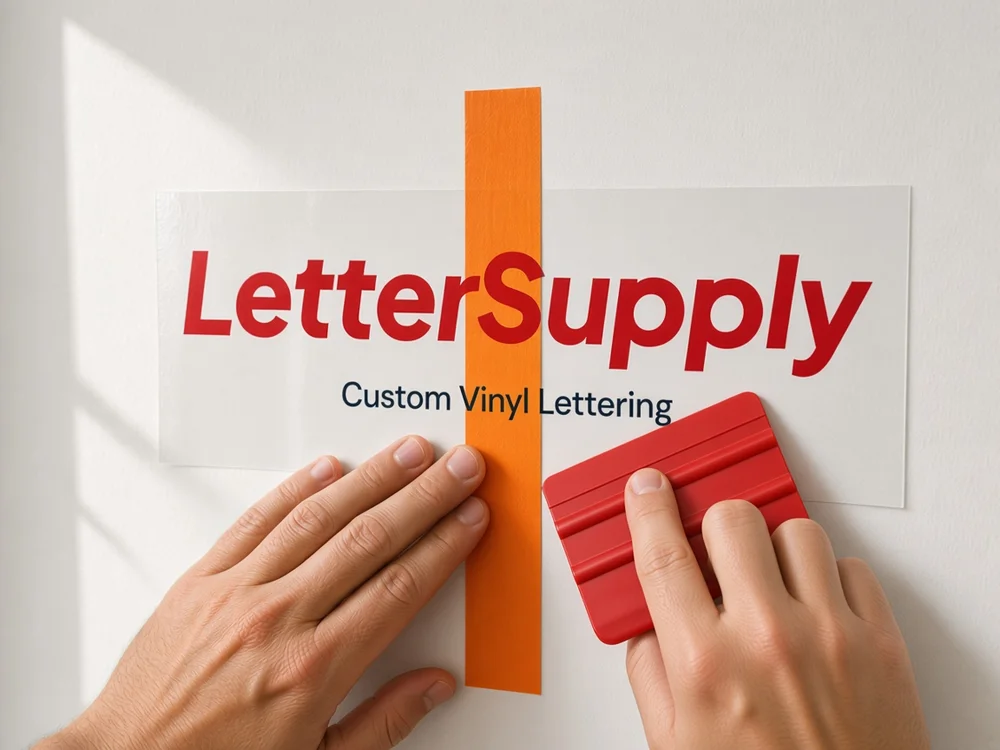
Hold the transfer tape slightly away from the surface. Starting at the hinge, press outward with a squeegee in firm, overlapping strokes.
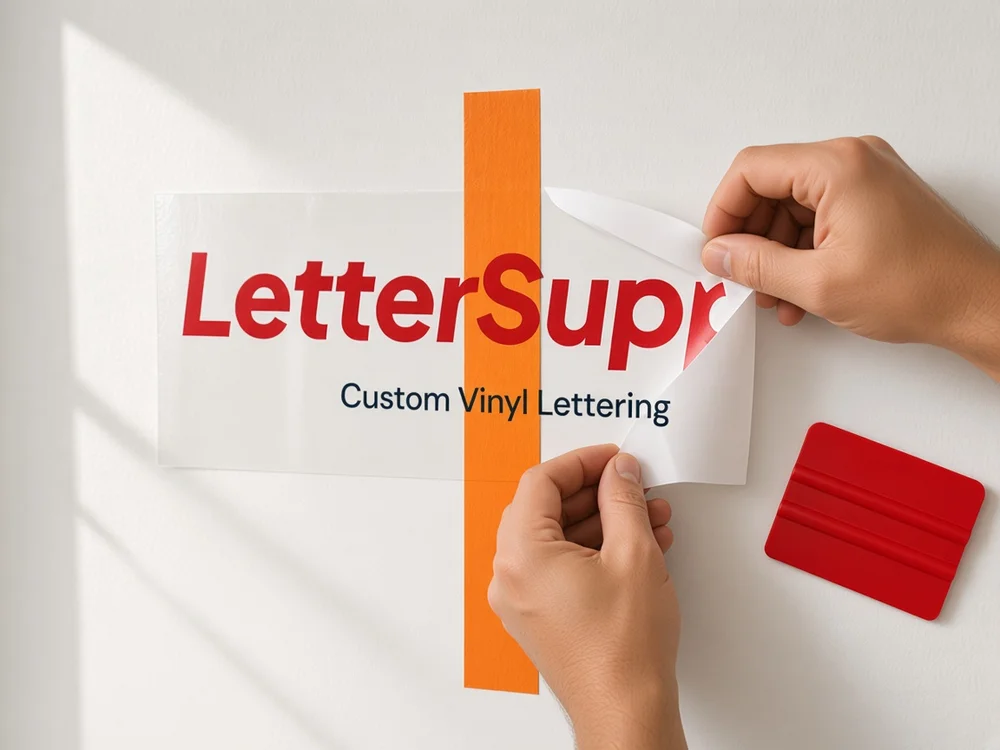
Remove the hinge tape once the first half is secure. Peel the remaining backing and squeegee from the applied edge outward, using the same overlapping strokes.
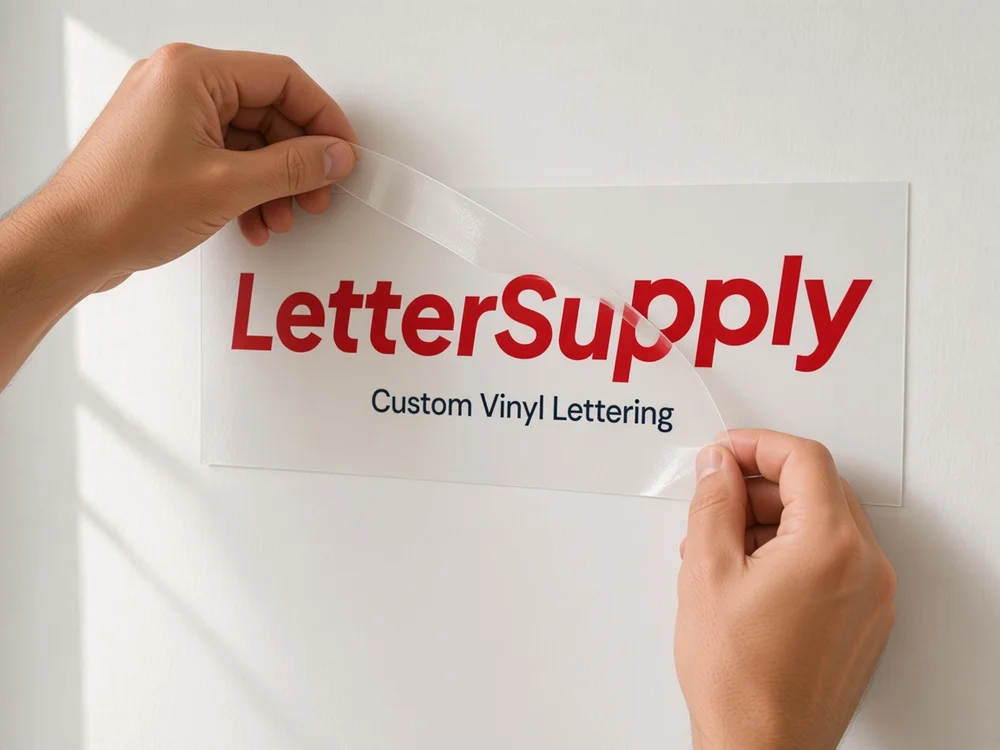
Peel the transfer tape slowly back over itself, close to the surface. If a letter lifts, lay the tape down, press it again, and retry gently.
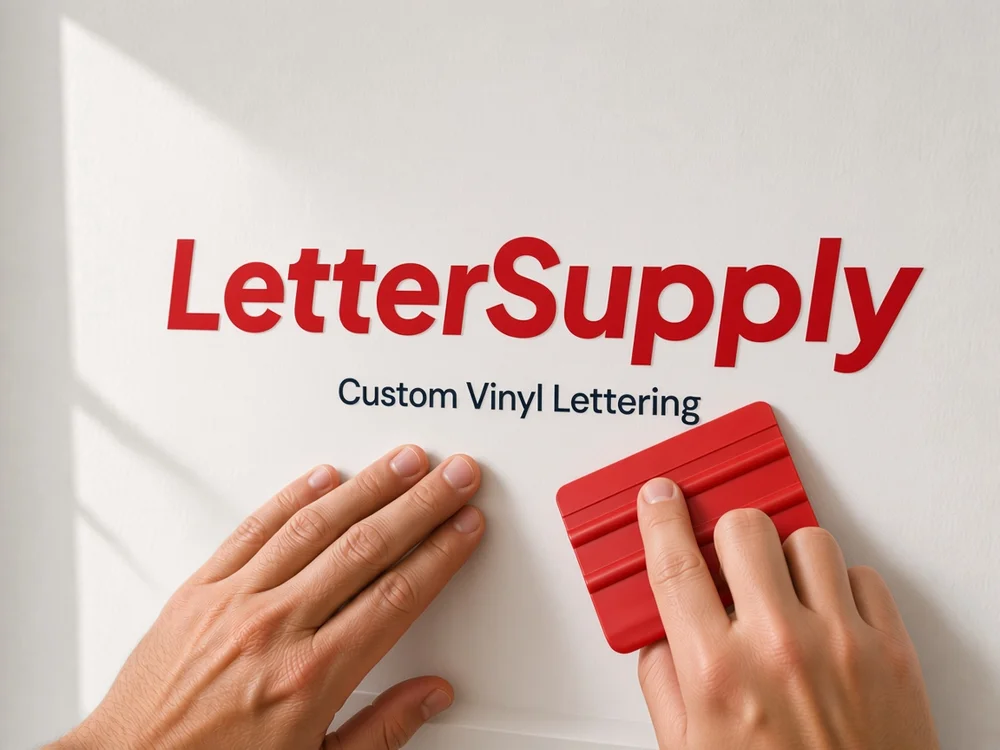
Look over every letter and edge. Press any loose areas through a clean piece of release liner. Keep conditions stable while the adhesive develops its bond.
Try a word like proof, material, delivery or installation.
All questions shown
12 questions · 4 topics
You have the know-how. Now bring your words to life.
